Images
|
|
Customize the quick access toolbarSadly, many of the nice features of PowerPoint remain hidden in the various tabs. Although many other nice ones exist, I would recommend to install on the quick access toolbar (browsing in 'all commands') the following commands: 'Shape Combine/Substract/Union/Intersect', 'Selection Pane', and 'Align'. These are often useful (see below). Also sub/superscript can be useful to have readily available.
|

|

|
|
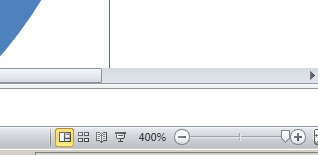
ZoomA possible source of irritation in PowerPoint is that the alignment of objects differs as a function of the applied zoom. The actual alignment is checked in 400%.
|
|

|
Ctrl, alt, shift keysExplore the ctrl alt shift keys. Do this by selecting an object, holding one of these keys, and then pressing the arrow keys. You will see that you gain much control over your object. Several other configurations are also available. For example, Ctrl enables to select multiple objects easily. Alt make fine adjustments possible. and Shift will limit the movement to up and down only. simply play around a bit.
|
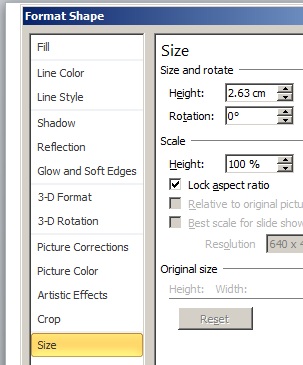
Lock Aspect ratioWhen manipulating objects, the loss of work can occur by wrongly enlarging a figure, making it look rather ugly. To avoid this, you can lock the aspect ratio.
Edit: You can also push shift, if you'd like to lock the aspect ratio, while you enlarge objects with the mouse. |
|
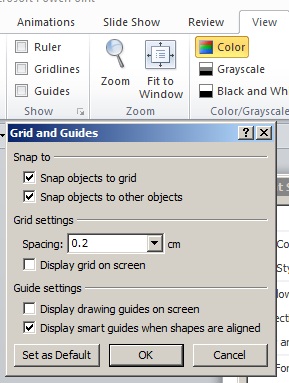
Grid and guidesTo ease the alignment of objects, the option exists to snap objects to the grid. this can be found in the table View, and then expand the ruler and gridlines area by pressing on 'Show'. Here you can also introduce gridlines on the screens that help to align objects on the slides.
|
|
|
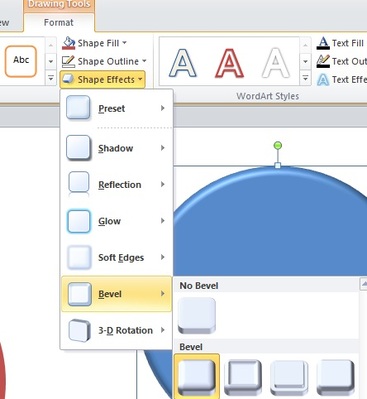
Standard effectsIn the Format option 'Shape Effects' you find many interesting effects that may aid to your design. I especially like the bevel options that give a 3D effect. This effect is also standard option in the theme options addressed below, and is accordingly displayed in further steps below. It it recommendable to stick to standard effects as this will save you time in the end. Only at a final stage one could fine tune a certain effect.
|
|
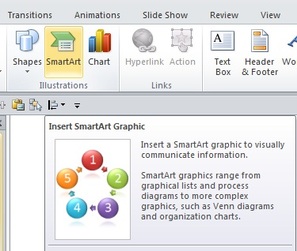
Smart ArtThe option Smart Art contains many interesting lay outs to get a nice design fast. Although the handling of Smart Art can be a little bit tricky (since it has some automatic functions), they can also serve as inspiration. Once can also simply adjust them towards your own wishes.
|
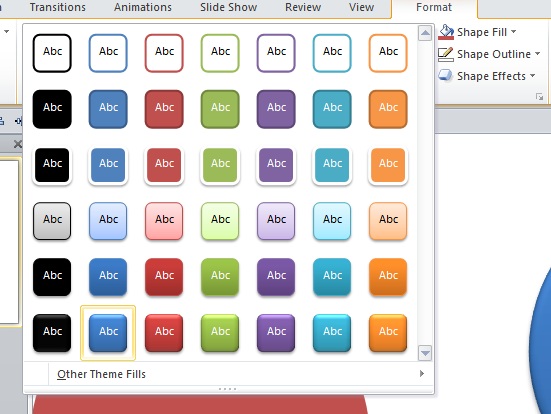
ThemesThe standard PowerPoint comes with different colour themes. It is worthwhile exploring a theme that suits you best. Different versions have different themes and it is possible to import them. Luckily for me, I prefer to use the standard Office 2007-2010 color themes as displayed on the picture.
|
|
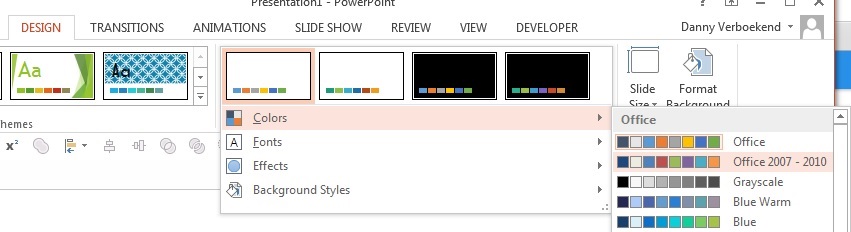
Changing themeIf, like me, you upgraded to Office 2013 and was wondering where the very nice Office 2007-2010 colors have gone: fear not. They are still available, among many other nice ones, under the 'Design' tab. Simply click at the 'More' button under 'Variants' and you will see them available under 'Colors'. You can also under 'Effects' retrieve the 3D effects from Office 2007-2010.
|
|
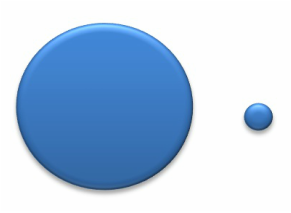
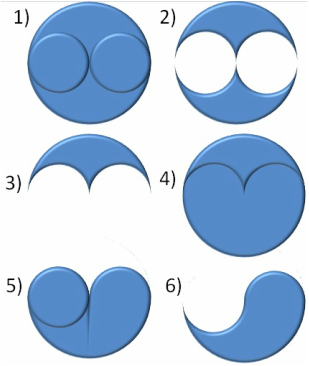
Shape Union and shape substractShape Union and Shape Substract are one of the nicest options to design in PowerPoint. By strategically substracting for example, you can create half of a ying yang shape. When using this method, the option to align center is valuable.
|
|
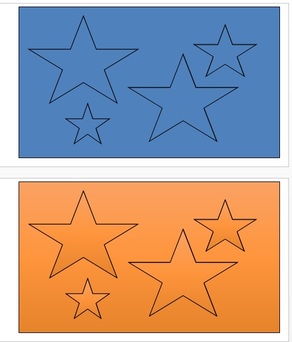
Shape fragmentIn PowerPoint 2013 a new Shape function was introduced: Fragment. While in 2D (upper part image) the value is not immediately obvious, it may be worthwhile to evaluate what this option can do in the 3D themes (lower part image).
|
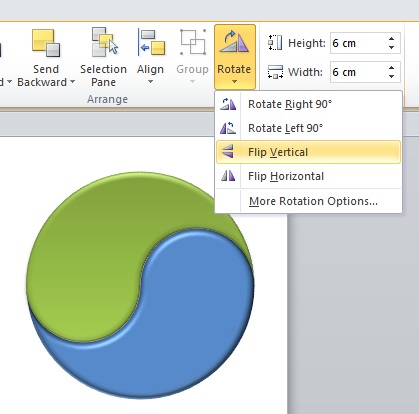
Rotate and FlipAnother very nice tool is the option to flip and rotate objects. For example, the ying yang half (6) mentioned above can be flipped vertically and horizontally, resulting in a perfect complementary piece. As you can imagine this saves executing the steps 1-6 once more. If you are going to be lazy: better be smart!
|
|
|
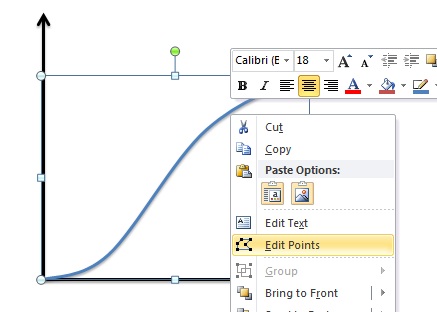
Edit Points (i)Another possible origin of annoyance in PowerPoint is the difficulty to make smooth lines. Here the option 'Edit Points' is of use, enabling you to tailor the points as you like. For the smoothest shapes: less points the better! In adjusting points, it is useful to know that by pressing ctrl you can remove points.
|
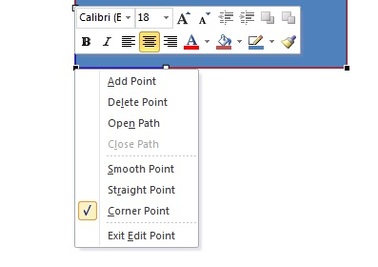
Edit Points (ii)By adjusting the type of point and its vector (lines coming from the point when you adjust it) you can tailor any shape into any form.
|
|
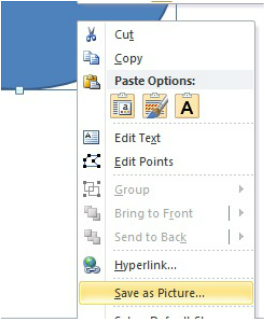
Exporting from PowerPointAfter making a great design, it is important to save it as a high-resolution file. This can simply be done by selecting the objects in the artwork and right-click: 'save as'. Then you can choose the format you like. However, the highest resolution can be obtained by saving as 'enhanced windows meta file'. Note for those on old laptops: converting designs containing many objects to '.emf' may crash your system! Should it be too hard on your system: stick with exporting as jpg or so.
|
|
|
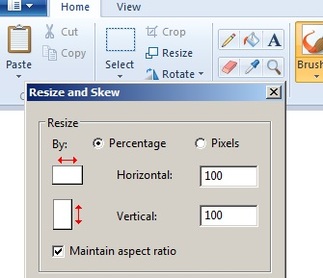
Converting '.emf' to '.jpg'As you may have noticed by now, '.emf' files are not widely applicable and may need to be converted to more useful extensions like '.jpg'. This can be done by opening the '.emf' in Paint and saving as jpg. Important comment here: many files coming from '.emf' become very large (exceeding ca. 3000x2000 pixels). Incorporating too many of such images may slow programs like Word down. Since for many applications (such as articles) a resolution of ca. 1200x800 is sufficient, I recommend to reduce the resolution by using the option 'resize' in Paint.
|